Google Classroom for LearnDash
Documentation
Getting Started
Google Classroom for LearnDash allows you to connect your LearnDash Coursework to Google Classroom.
Installation
In your Plugin purchase receipt email, there is a download link to the plugin. Once downloaded, visit “Plugins” under your WordPress Admin Dashboard and click “Add New” to upload the ZIP file.
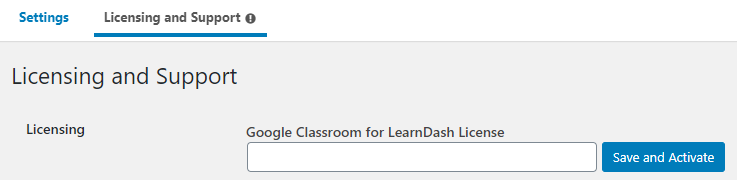
Once installed, navigate to LearnDash LMS -> Google Classroom -> Licensing and Support and enter your license key to activate premium support. Activating your license key will also allow you to update the plugin from the WordPress Dashboard when updates are available.
Set Up
As the site owner, if you want Grades to show up in your own Google Classroom, follow the steps below. Otherwise, move on to “Authentication”.
- Create a Google Classroom account if you do not already have one.
- Create a Google Class. By creating a class, you are automatically added as a teacher. At this stage, you can add more teachers and students if you’d like.
Authentication
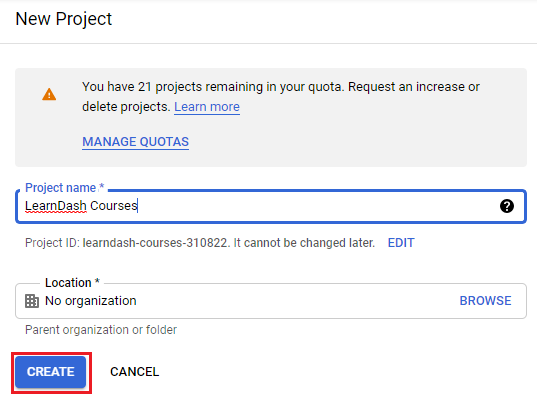
- Create a project under https://console.developers.google.com/:


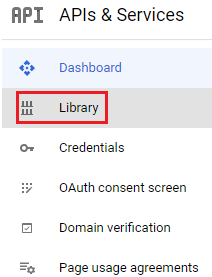
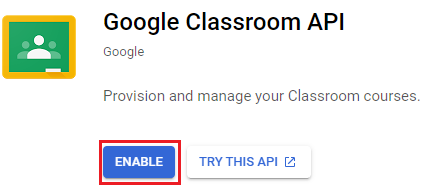
- Click “Library”, search for “Google Classroom API” and enable it:


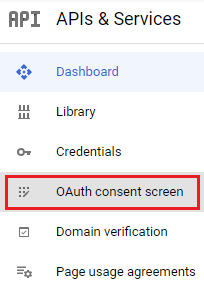
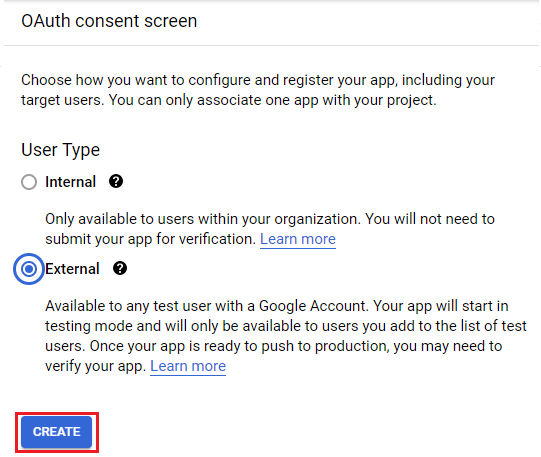
- Under “APIs and Services”, click “OAuth consent screen” and choose “External”, then, “Create”:


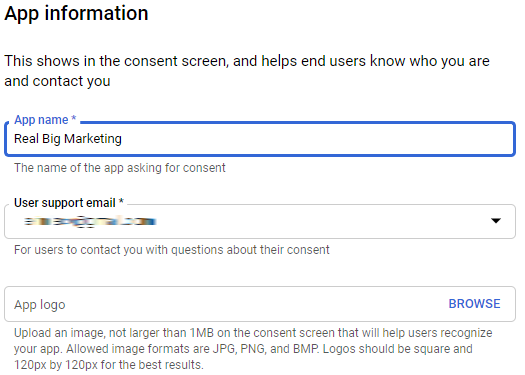
- Under App name, enter the name of your website. Add a User support email and Developer contact information. Your user support email and developer contact information will likely be the same email address. Click “Save and Continue”.

- Under App name, enter the name of your website. Add a User support email and Developer contact information. Your user support email and developer contact information will likely be the same email address. Click “Save and Continue”.
- On the next screen, enter the following scopes. This list will be adjusted if additional integrations are activated:
- https://www.googleapis.com/auth/classroom.courses.readonly
- https://www.googleapis.com/auth/classroom.coursework.students
- https://www.googleapis.com/auth/classroom.coursework.me
- https://www.googleapis.com/auth/classroom.topics
- https://www.googleapis.com/auth/classroom.rosters.readonly
- On the next screen, add test users if you would like. Until you publish the App only these users will be able to authenticate using Google.
4. Once finished with “OAuth Consent Screen”, click “Credentials”, then “Create Credentials -> OAuth client ID”

- For “Application type” choose “Web Application”.
- Enter a name for your Client. This will not be shown to users on your site and is used only to identify these API credentials.
- Under “Authorized redirect URIs”, enter the URI found under LearnDash LMS -> Google Classroom -> Settings:
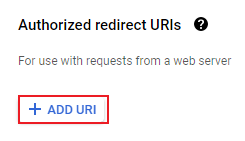
![]()
- Click “Create”.
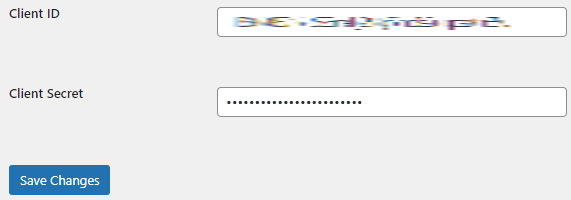
- A pop-up window will appear that says “OAuth Client Created” and will have a “Client ID” and “Client Secret”. Copy and paste these credentials into “Client ID” and “Client Secret” under LearnDash LMS -> Google Classroom -> Settings and click “Save Changes”.

Usage
Once the Authentication has been set up, students and teachers can link their WordPress Site Accounts to their Google Classroom accounts. This will allow them to view grades within Google Classroom.
Google Classroom for LearnDash uses LearnDash Groups to sync information with Google Classrooms. If you haven’t used LearnDash Groups before, we recommend checking out their documentation here.
For Group Leaders to use this functionality, the site owner will need to grant Group Leaders the ability to Manage Groups.
Teachers
Google Classroom authentication works via Groups in LearnDash.
In order for a teacher to link their Google Account, navigate to the teacher’s Group Edit Page -> Settings. On the right-hand side will be a button “Link My Google Account”:

You must allow the following permissions in order to link to Google Classroom:
- See, create and edit coursework items including assignments, questions, and grades
- View your Google Classroom class rosters
- View your Google Classroom classes
Once the Google Account is linked, select which class/classes to associate with the Group, and click “Update”. This will send all Quizzes and Assignments in the LearnDash Courses that are a part of that Group to Google Classroom as Classwork.

Students
Only grades for Courses which are part of a LearnDash Group that you are a part of, and that has had Google Classroom Classwork Course Work created for it, will be sent to Google Classroom. If you are enrolled in a Course that is not a part of a Group, your Grades will not be sent to Google Classroom.
To authenticate your student account, click the “Link My Google Account” button at the top of the main Course Page. You will need to allow the following permissions to link your account:
- See, create and edit coursework items including assignments, questions, and grades
- View your Google Classroom class rosters
- View your Google Classroom classes
Revoking Access
If at any time you need to revoke a student or teacher’s stored Google Classroom token, follow the steps below.
- Removes and revokes the stored access token.
- Removes the stored Google ID for the user.
- Removes any cached API calls like your list of Classrooms.
- Navigate to “Users” and “edit” the user in question. Scroll down and you will see a button to remove Google Classroom token under “Google Classroom for LearnDash”. Toggle the button on:

- Click “Update User” at the bottom of the screen.

FAQ’s
How do I stop receiving so many emails from Google Classroom?
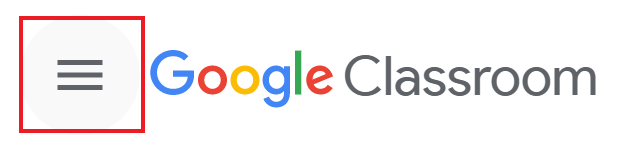
To stop receiving and/or customize email alerts from Google Classroom, access “Settings” via the hamburger menu at the upper lefthand page of your Google Classroom home page.
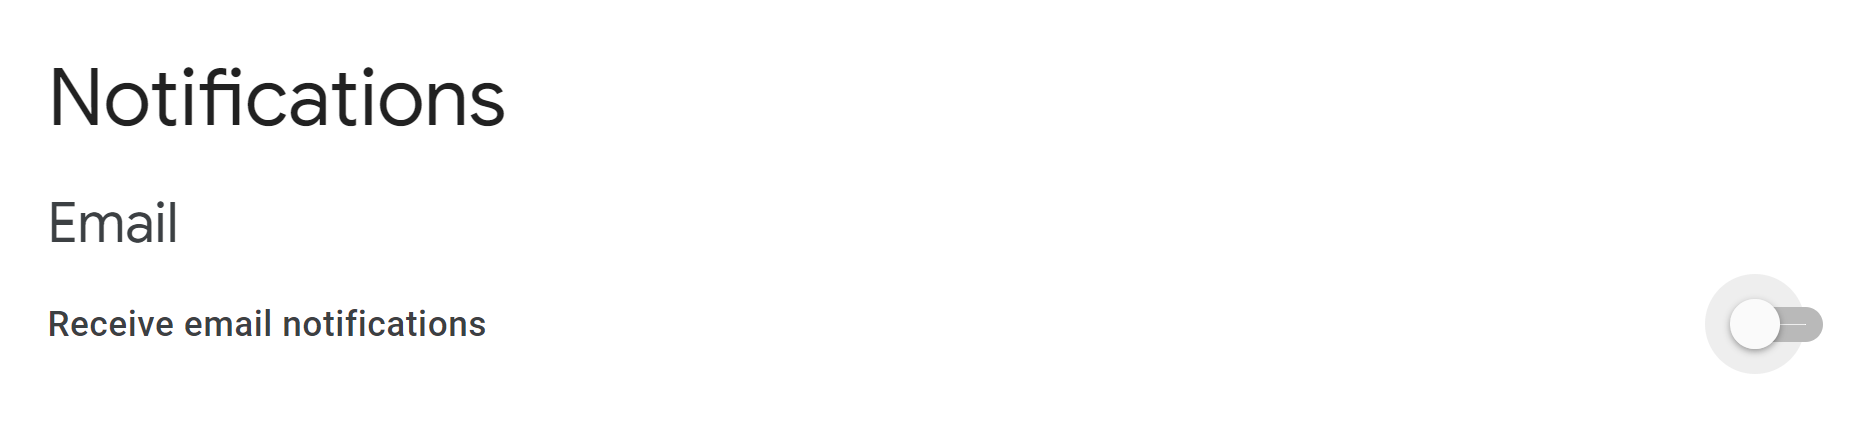
From Settings, you can customize Email Notifications:
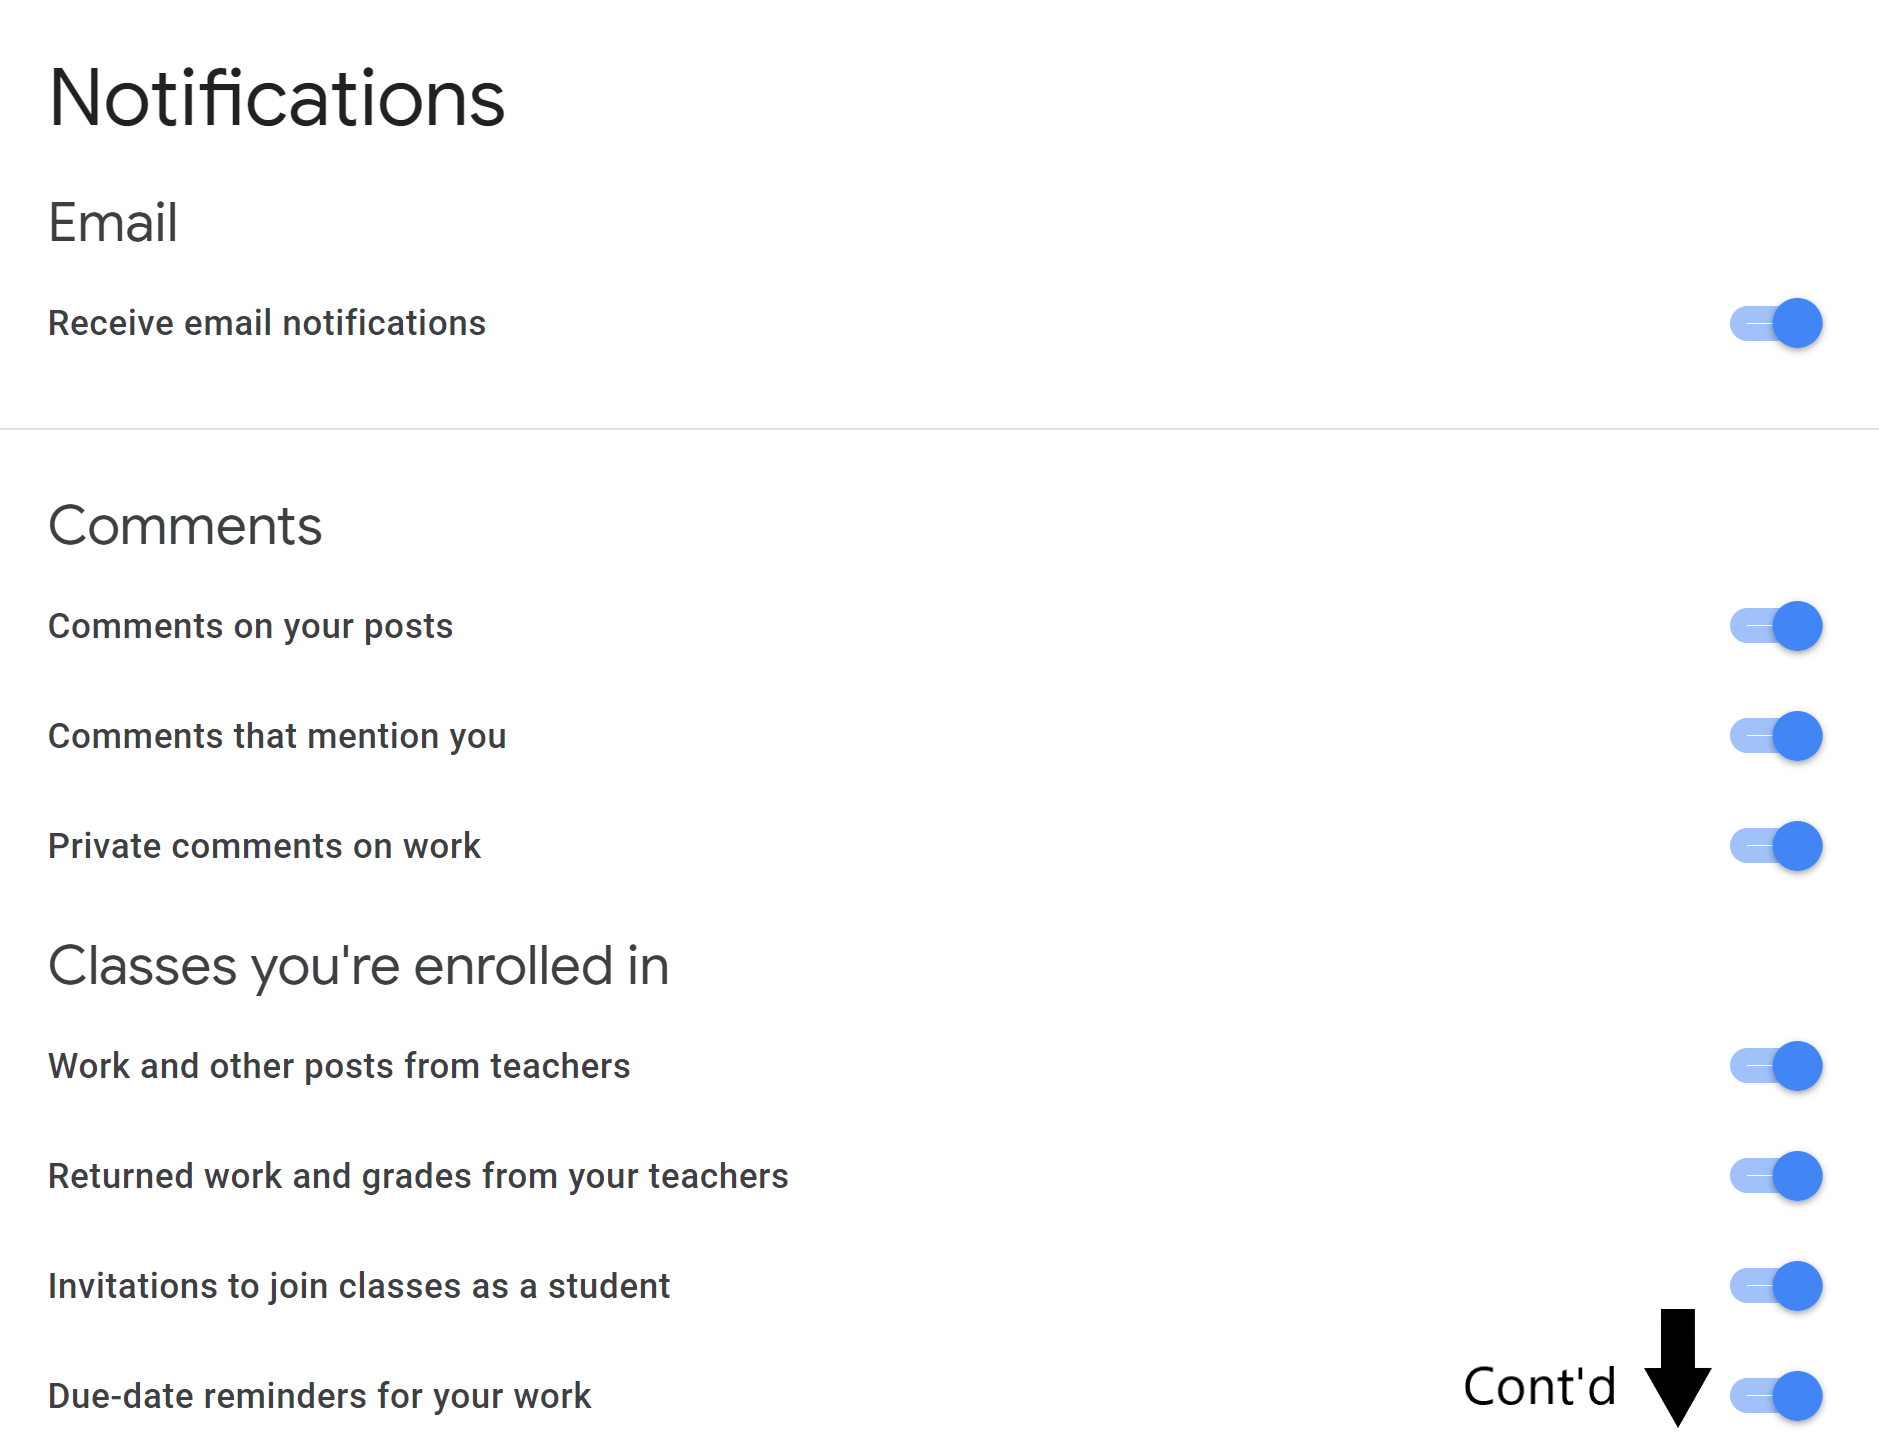
Or turn off Email Notifications completely: