LearnDash Slack
Documentation
Setting Up LearnDash Slack
Initially configuring LearnDash – Slack requires only a few simple steps.
- Install and activate the plugin
- Navigate to LearnDash LMS – > Settings – > Slack -> Licensing and activate your license key (which you can find on your purchase history page)
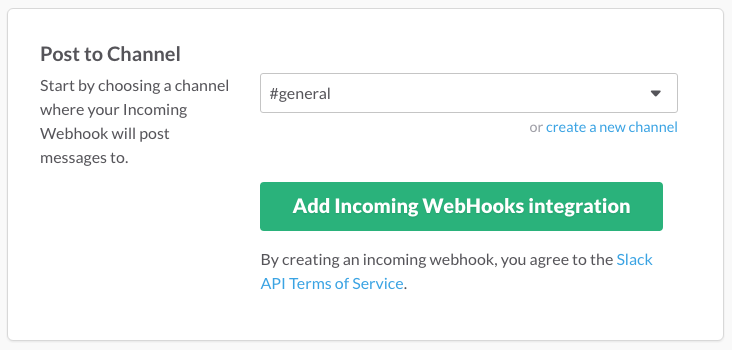
- Navigate to LearnDash LMS -> Settings -> Slack and follow the link in the description for the Webhook URL to where you can generate a Webhook URL from Slack

- After selecting the channel (which will only be used as the default channel and can be overridden for each Notification in LearnDash Slack), you will be shown your unique URL which you can then select and copy
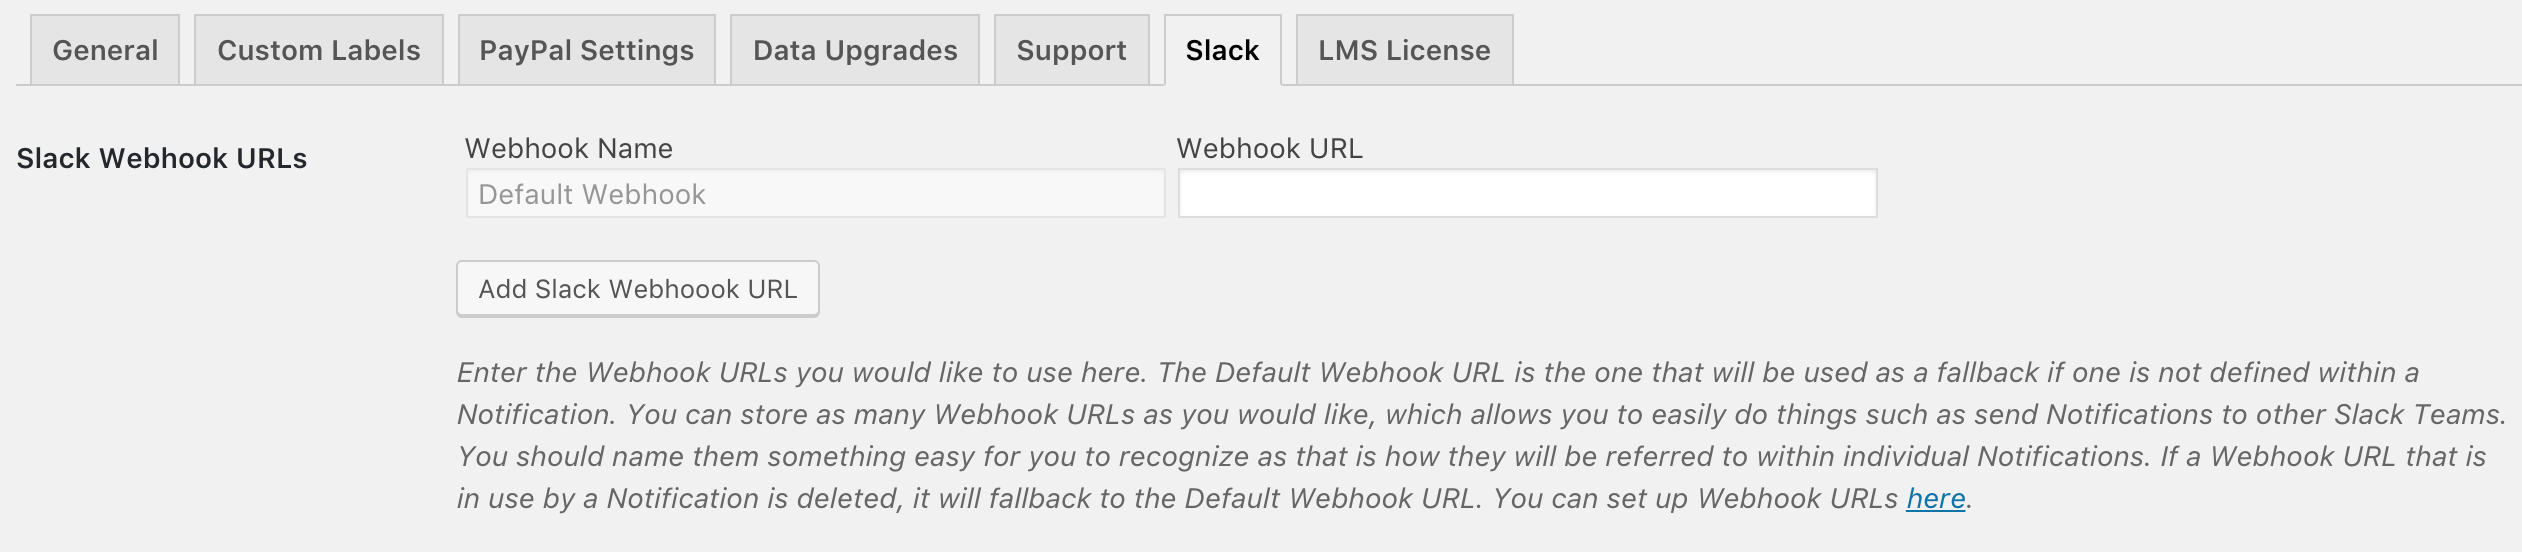
- Go back to your plugin settings and paste the new Webhook URL into the Webhook URL settings field

- Click off of that field and it will flash green. Now the base configuration is complete and you can continue to Creating Notifications!
Setting up new notifications in LearnDash Slack
With LearnDash Slack it is possible to configure an unlimited number of notifications. Here’s what you need to do to set one up:
Once you’ve completed the setup process, you can click on the Add Notification button in the plugin’s settings. Then you’ll see a series of fields appear like this:
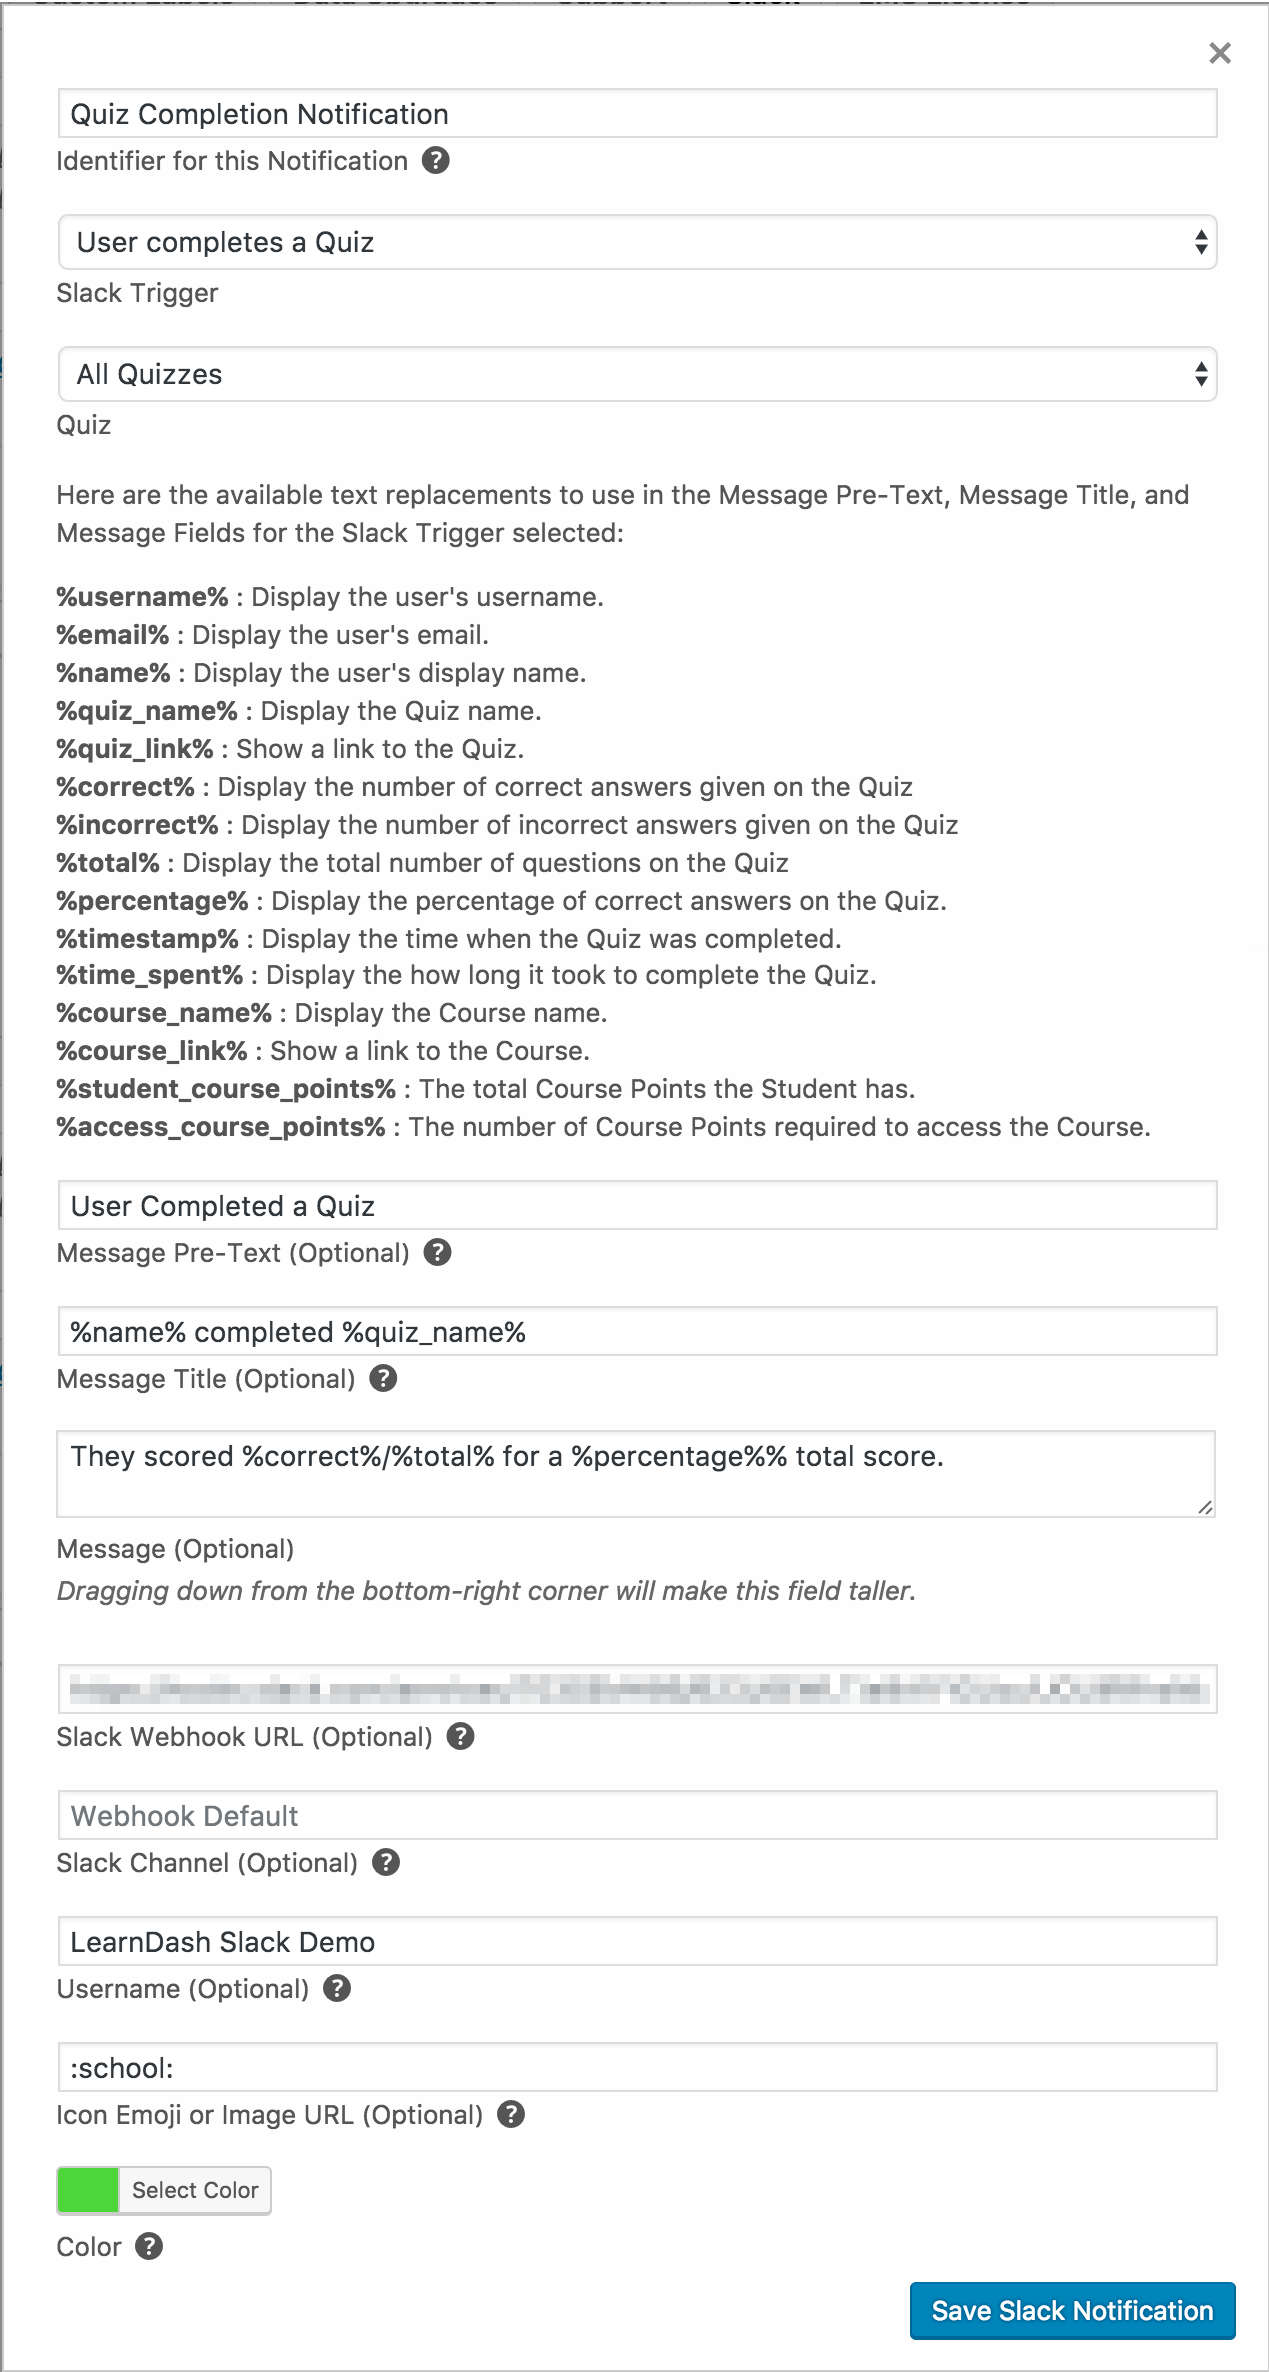
The current fields are:
- Slack trigger: Defines the trigger which results in this notification sending a message to Slack.
- Slack Webhook URL: Allows for an alternate Webhook URL to be used in special cases.
- Slack Channel: For defining the channel to send notification to. If you desire to send notifications to a specific user, use the @username syntax. Leave blank for default.
- Message: If the default message is not what you want to appear in Slack, enter a custom message here.
- Message Title: Optional custom title for the message when it appears in Slack.
- Message Pre-text: Optional text which will be prepended before the message in Slack.
- Color: Messages sent to Slack will have this color appear in a bar before the message.
- Username: Defines the name of the user that the message will appear to be from. User does not need to exist in Slack.
- Icon Emoji or Image URL: If the default image or emoji used for notifications isn’t your style, this field will allow for custom graphics to be specified.
- Identifier for this notification: Only used within the settings interface for quickly identifying which notifications are which.
- Additional fields will appear depending on the selected Slack trigger.