Sugar Calendar Customizer
Documentation
Using the Plugin
On first activation, you’ll be greeted with a notification window directing you to go under Appearance -> Customizer.
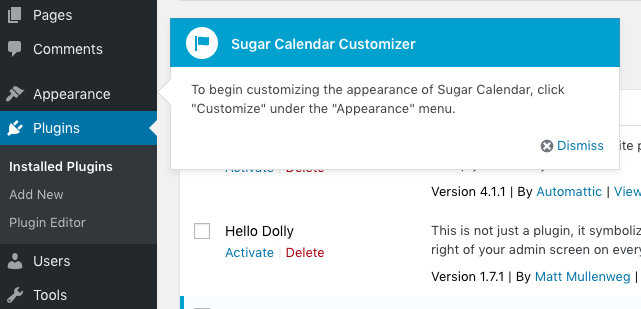
This will only show once, so you can dismiss it if you choose to or navigate directly to Appearance -> Customizer.
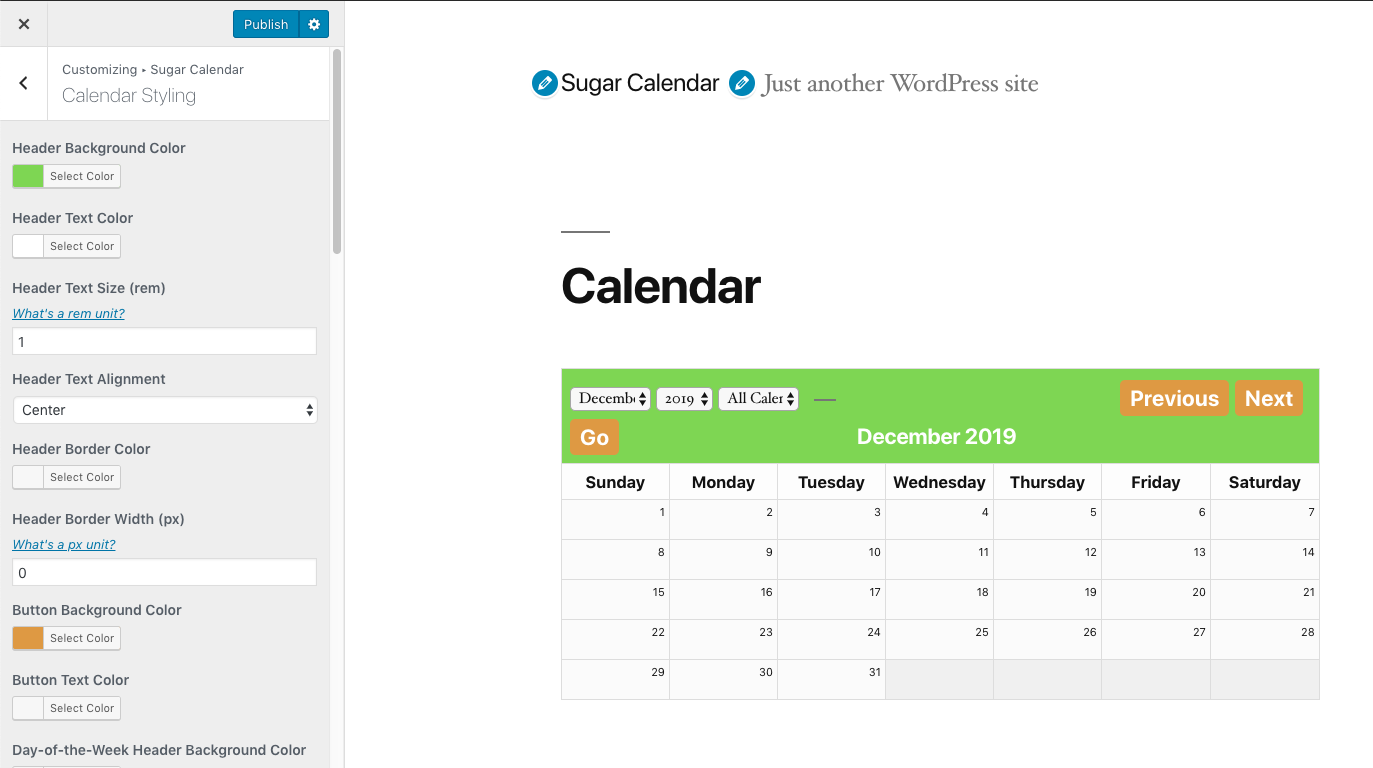
Once you’ve gone to this page, if you go under the “Sugar Calendar” panel, you’ll see additional panels to navigate to to access settings for both the Calendar and Event List views. If you navigate to a page on your site showing these items, you can see your changes applied directly on your site! There are many options that you can adjust as necessary, so do whatever fits best with your site’s theme and your brand.
Receiving Plugin Updates and Support
To enter your License Key, navigate to Calendar – > Settings – > Customizer License and Support and enter your license key (which you can find on your purchase history page).
Once you hit “Activate”, you will be shown a success message and a Support Form will appear on the right-hand side of the screen. You can submit support requests directly from this form and you’ll receive updates to the plugin directly in your WordPress dashboard.
Changelog
1.1.0
- Compatibility fixes for Sugar Calendar 2.2.3+
- Breaks apart the Customizer settings into sub-panels for better organization
- All style changes no longer auto-adjust within the Customizer. The Customizer window will now refresh to show each change.
- Fixes the guide prompt on activation covering the "Appearance" menu, preventing it from being clicked without dismissing the prompt first.
- Bumps the WordPress Tested-To value
- Updates our Licensing and Support module to the latest version
1.0.0
- Initial Release